Easy Knot Tying
Tying a knot that’s less likely to break means less time spent re-tying your line
by MADISON HEDRICK
Fishing can be fun for everyone, and it is never too early or late to learn. You can buy the best rods and most expensive baits, or own the fastest boat with the best gear, but there are some things you can’t buy—like the ability to quickly and efficiently tie a strong knot that makes the most out of your gear.
Fishing line has come a long way in the last 20 years—you have fluorocarbon, monofilament, and the new “super lines.” Unfortunately, if your knot isn’t up to snuff, all the technology in the world can’t save you from breaking off “the big one.”
So, I did some research and found the knots that were most recommended for braided, monofilament and fluorocarbon line. If someone tells you their knot is 100%, they are lying. All fishing knots are weak because contorting line in hard turns creates tension and weak points in the knot itself—it is due simply to physics, and we can’t control for that. Interestingly enough, the weak point is usually the first hard turn at the top of the knot, where the main line attaches—leaving a clean break.
Let’s take a look at how to tie two of the most recommended knots—one is for the highly recommended braid-to-swivel/hook/lure knot and the other is for tying line-to-swivel/hook/lure.
Braid-to-Hook: Palomar Knot
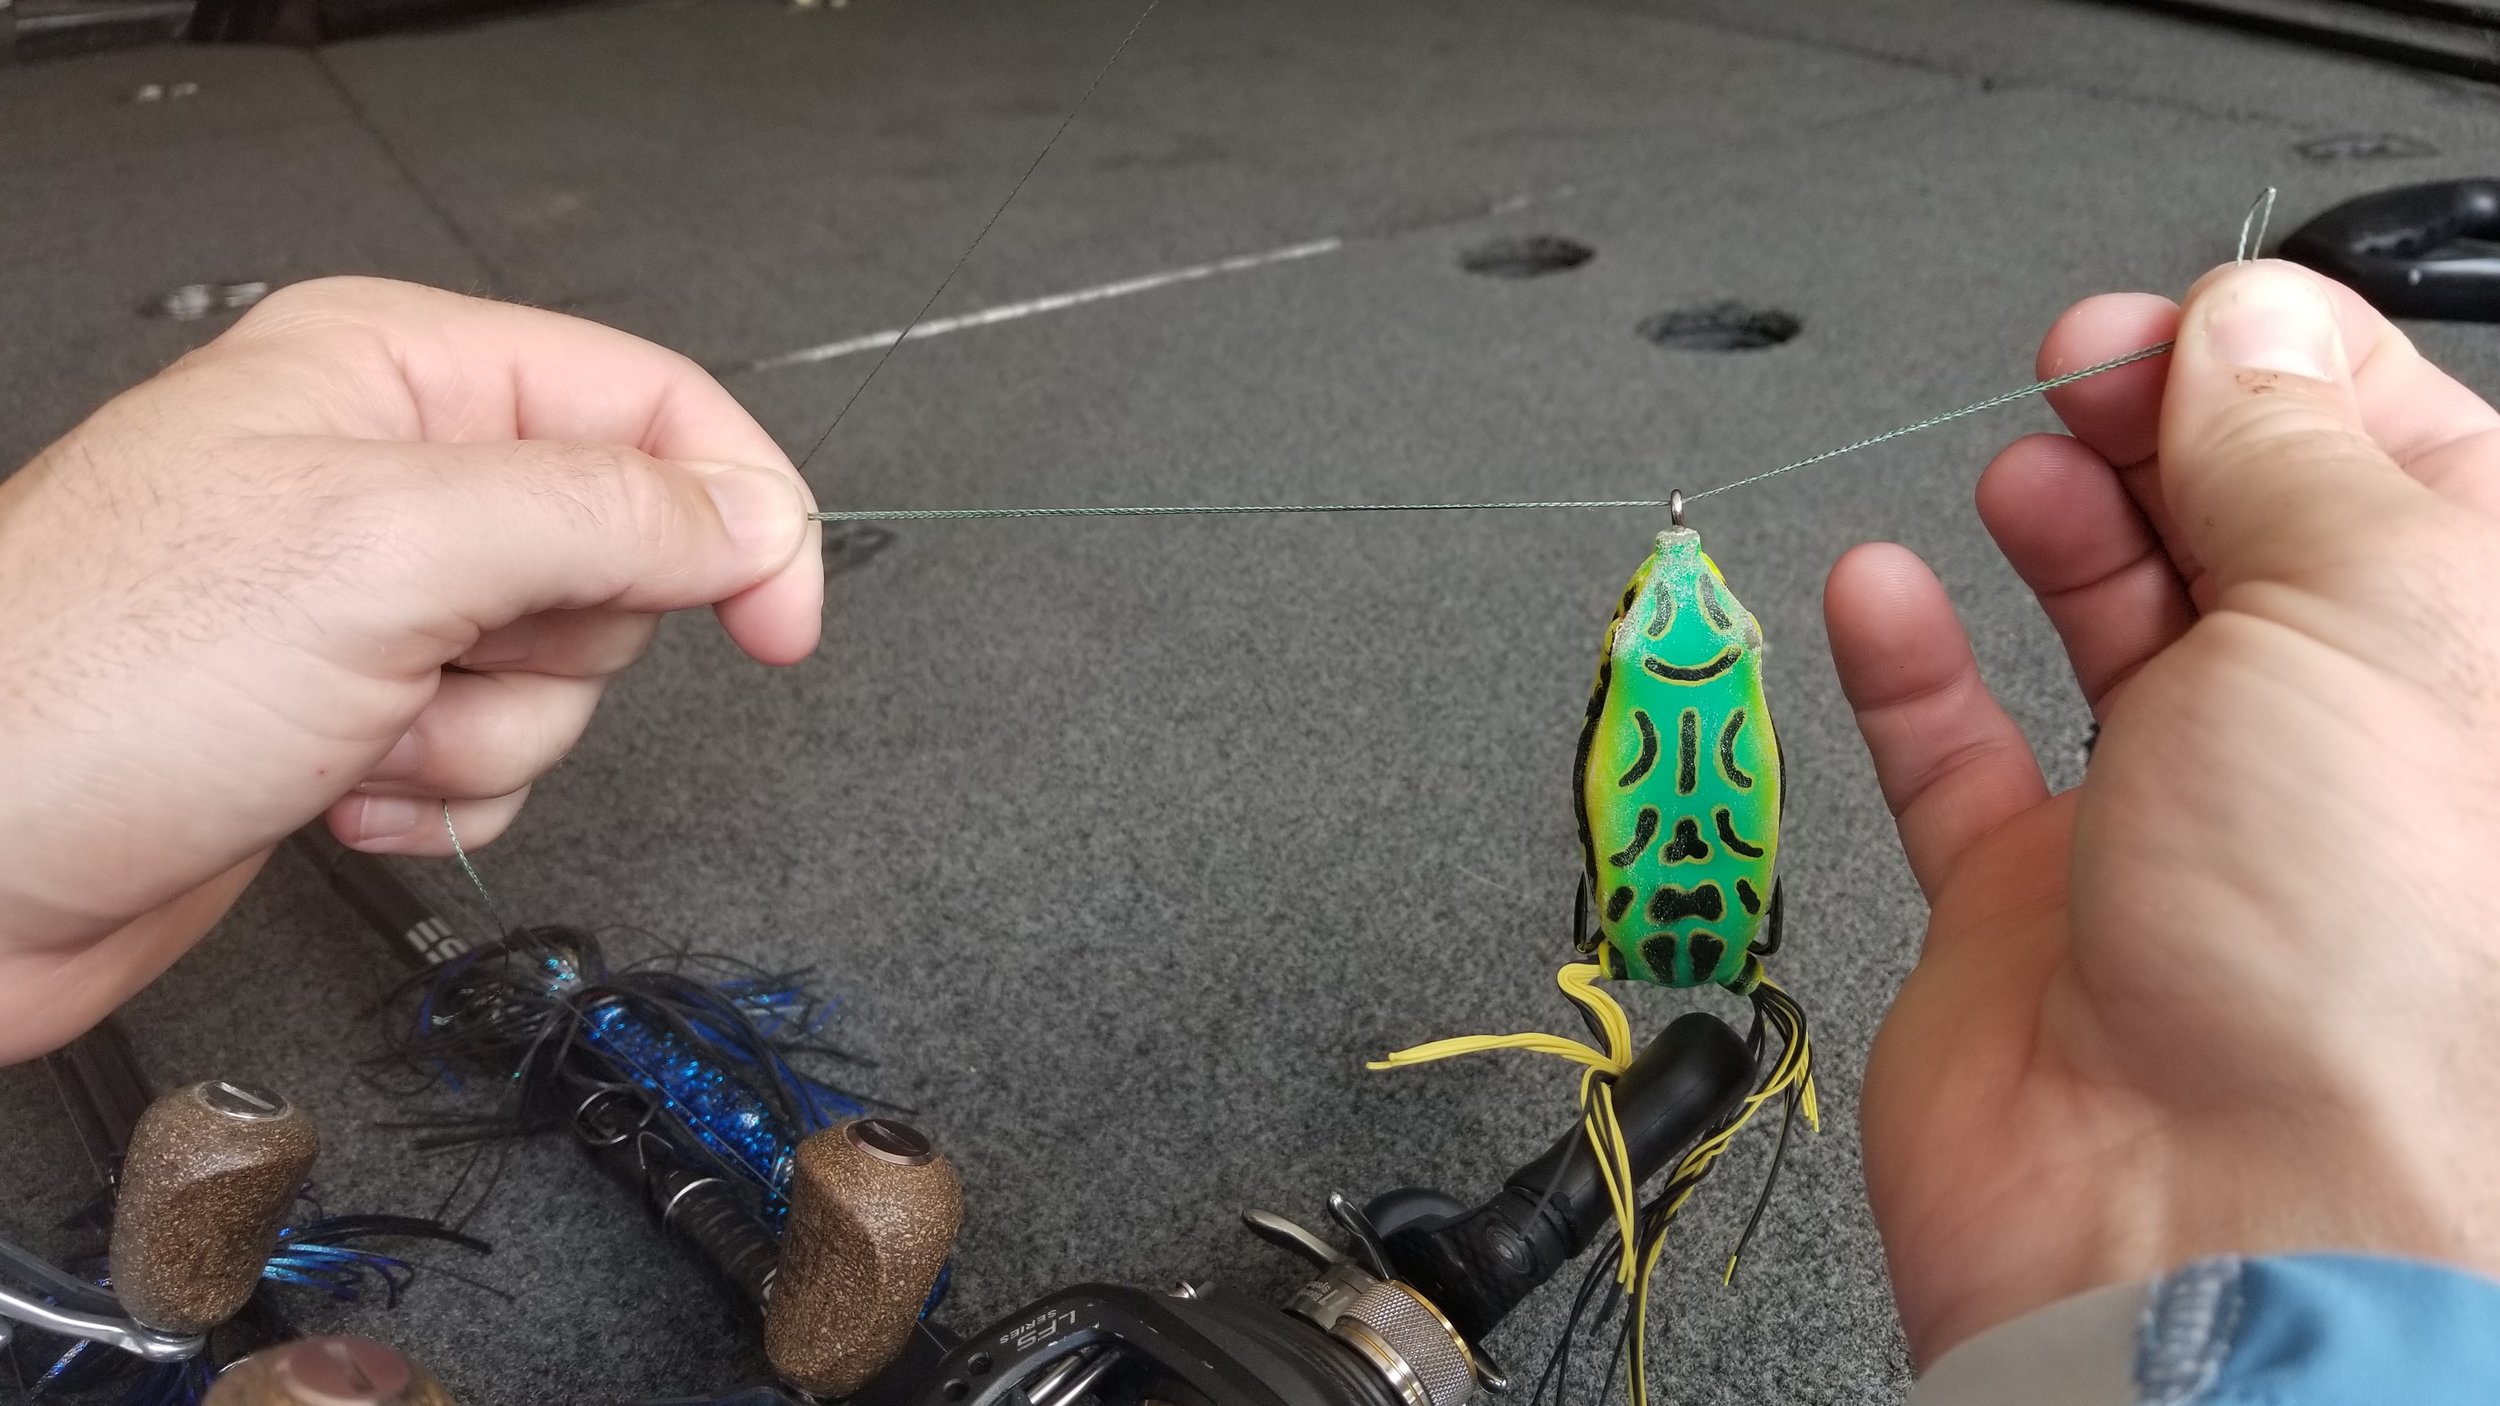
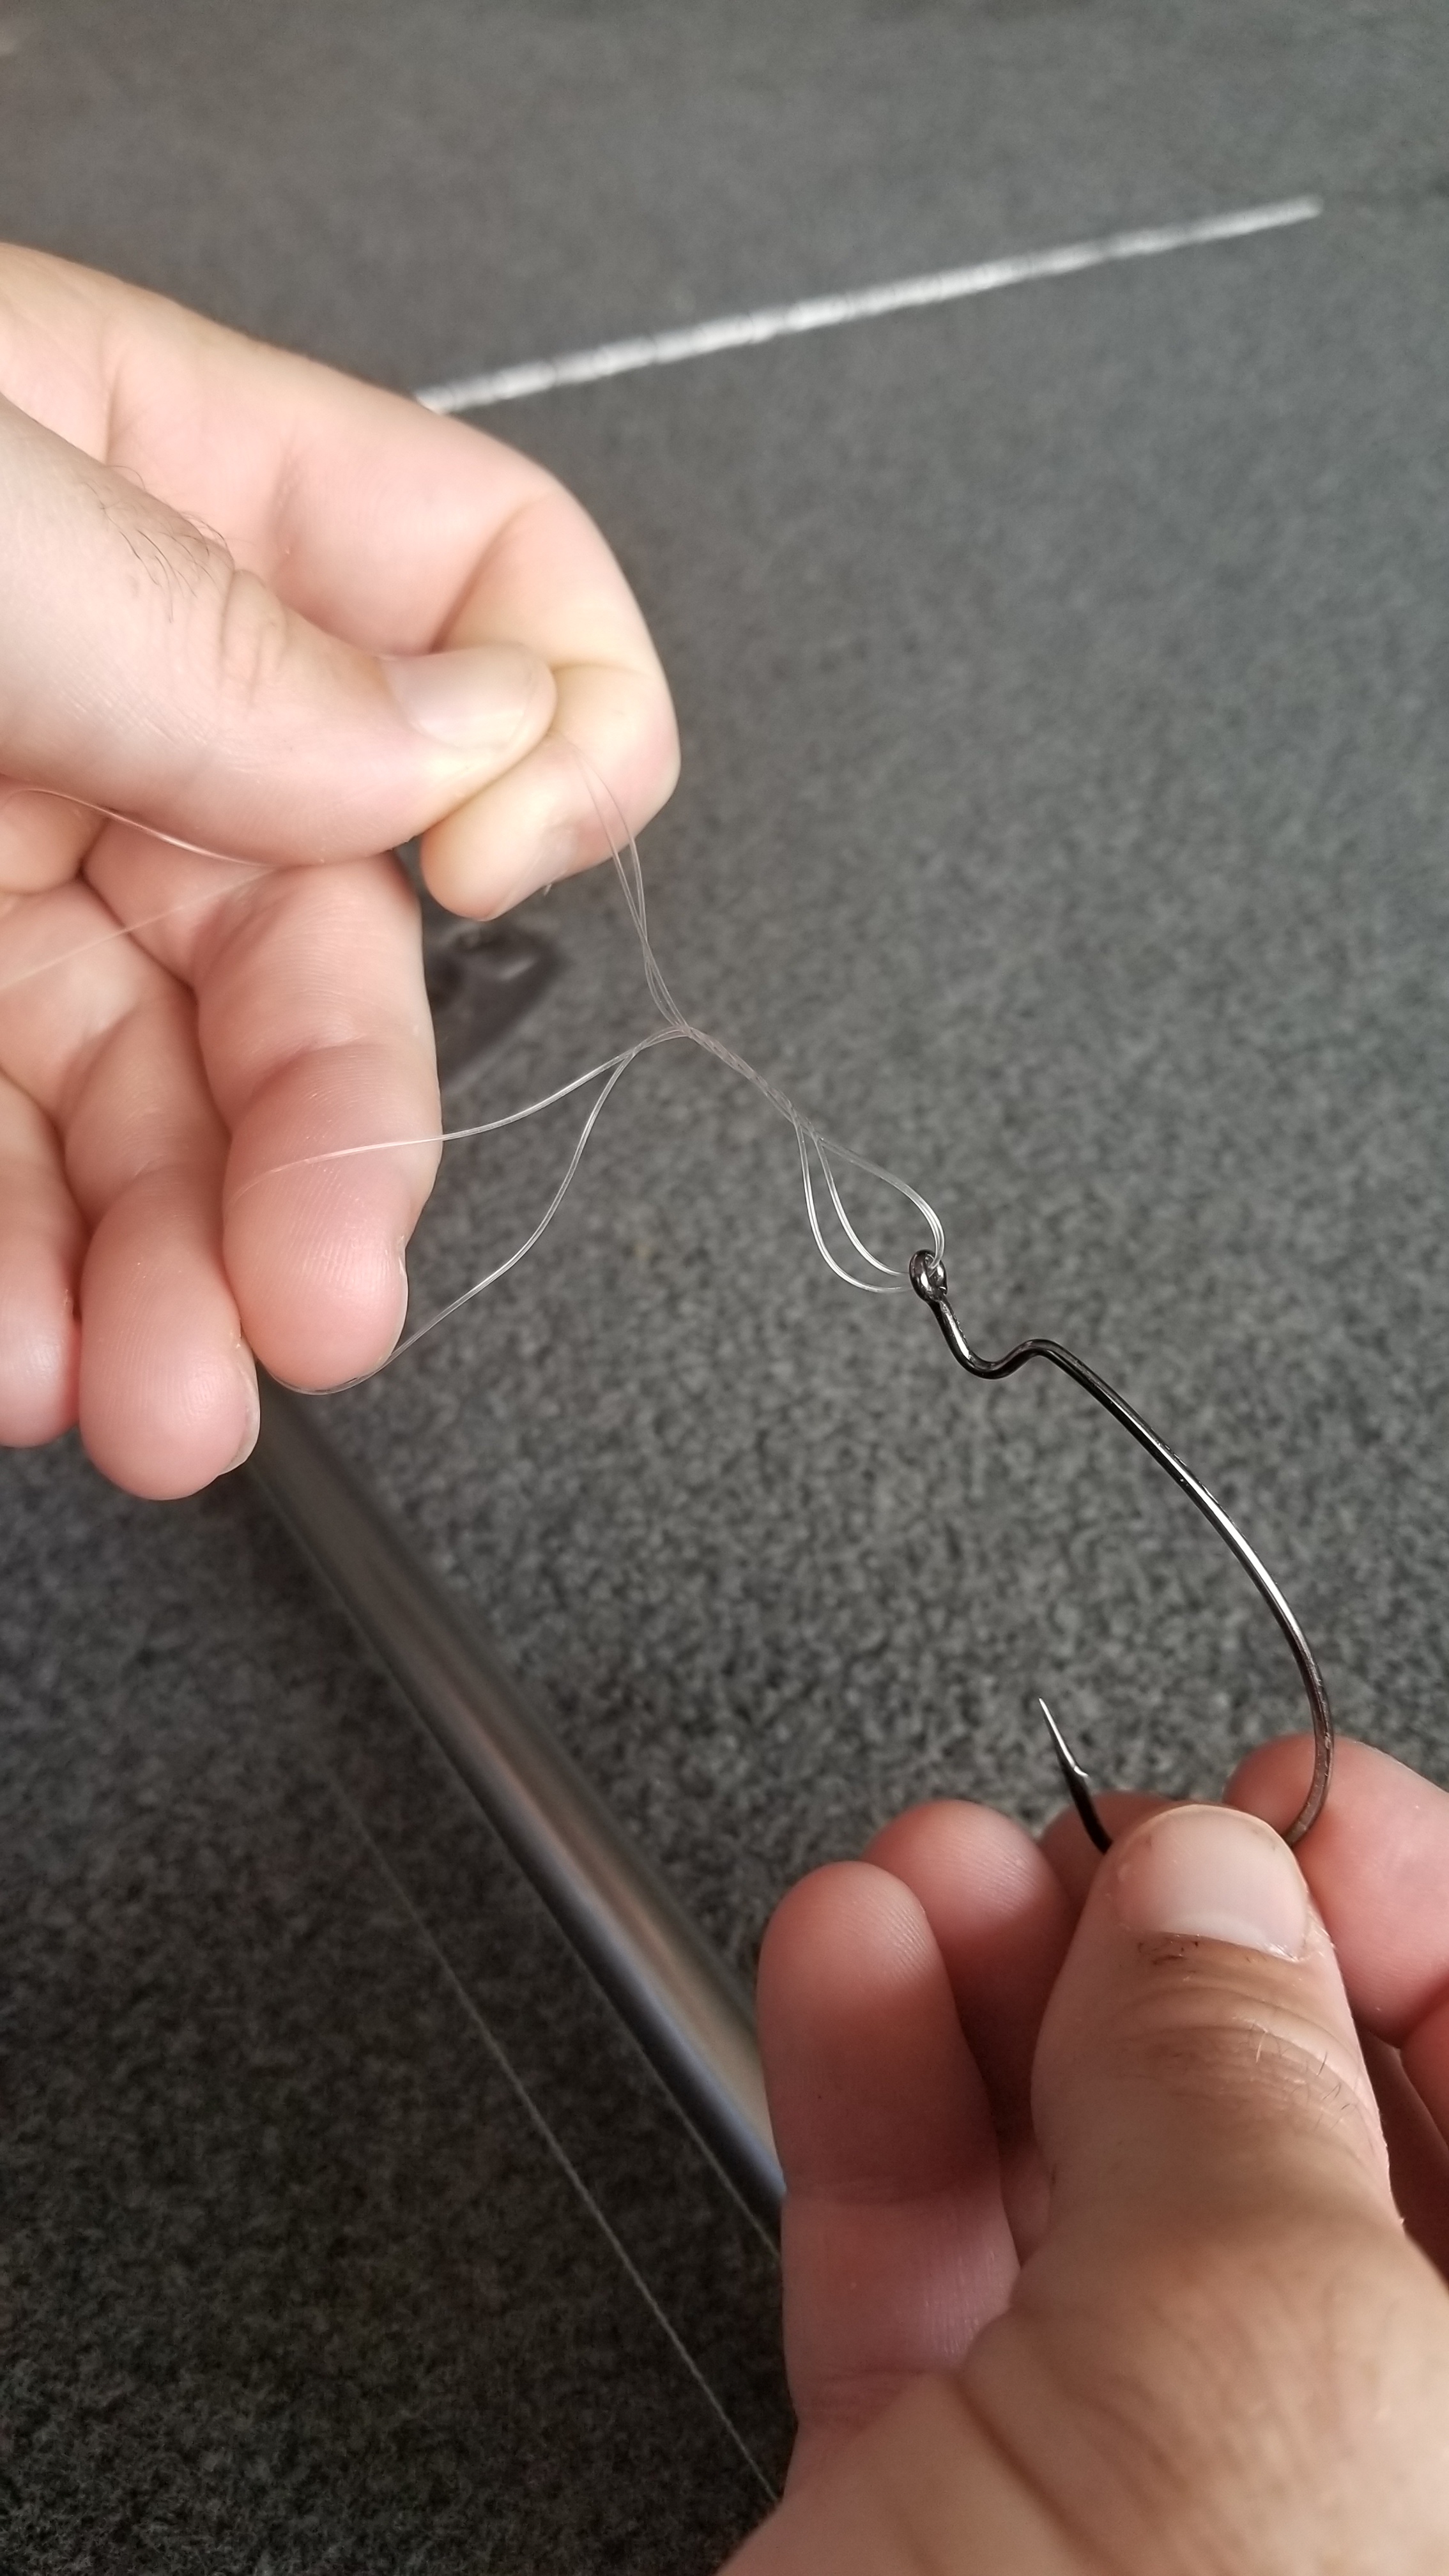
1. Double 6 inches of line and pass end of loop through eye of hook.
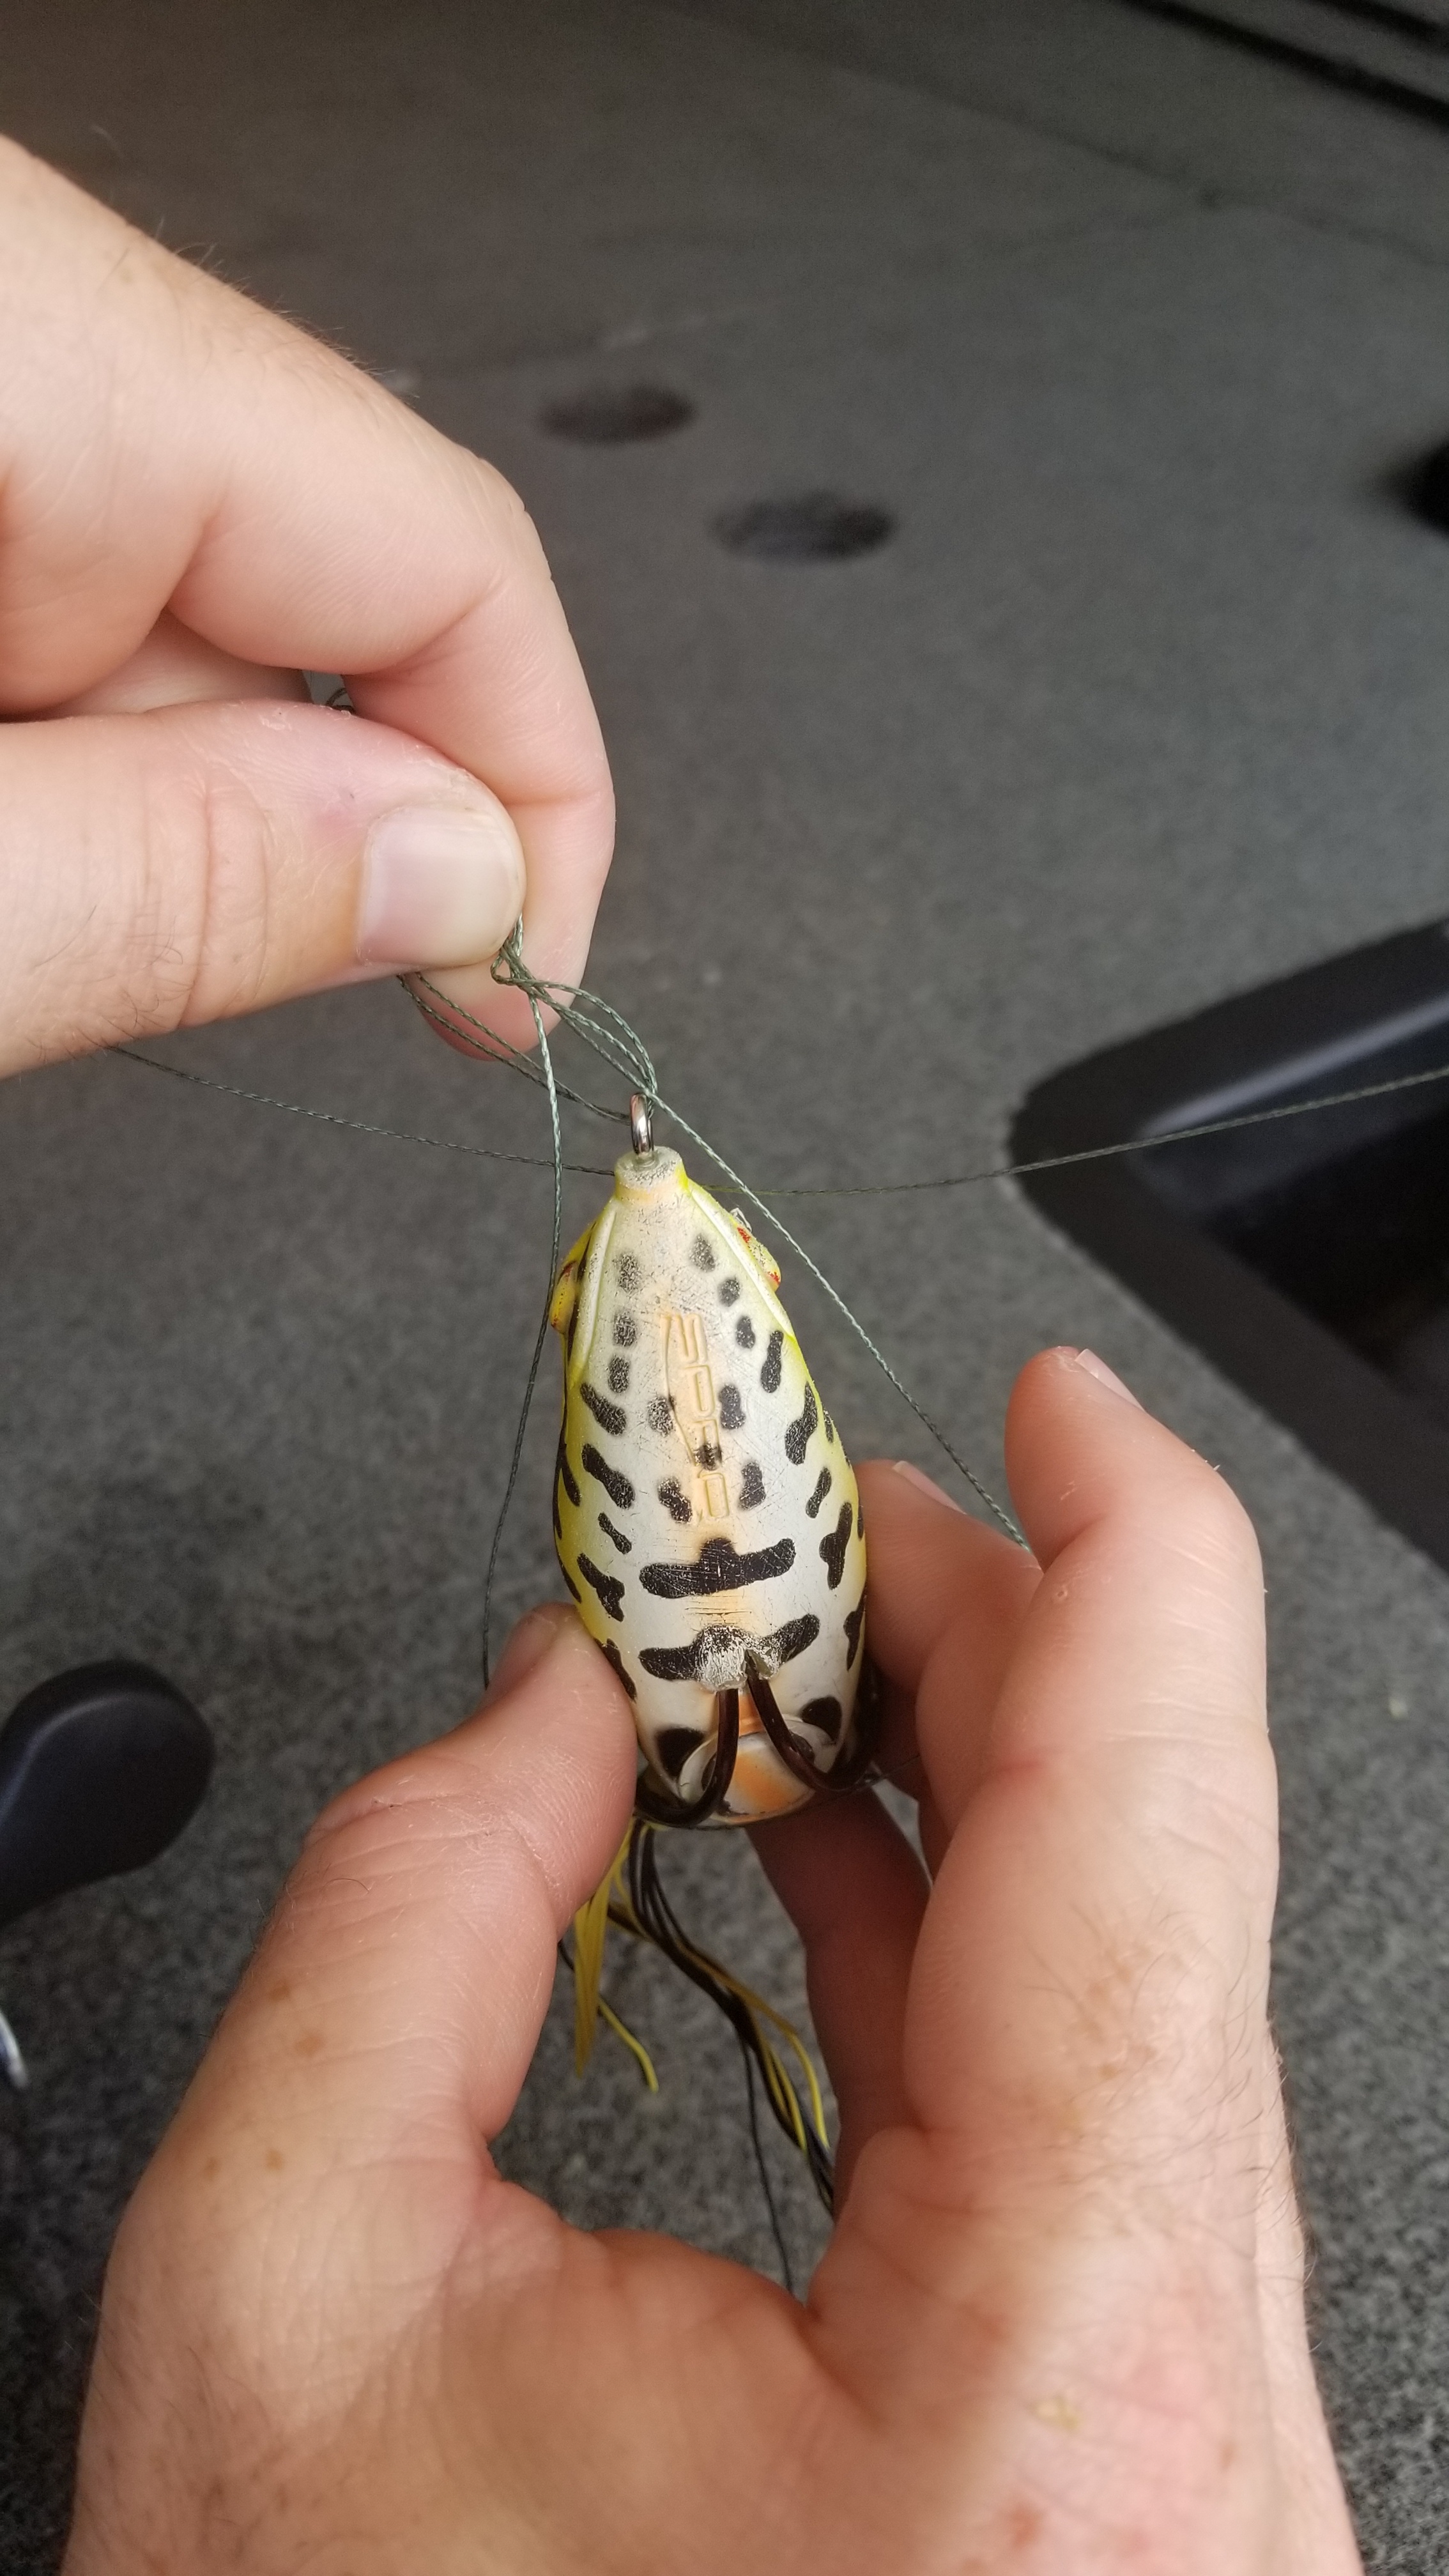
2. Tie a loose overhand knot with hook hanging from bottom.
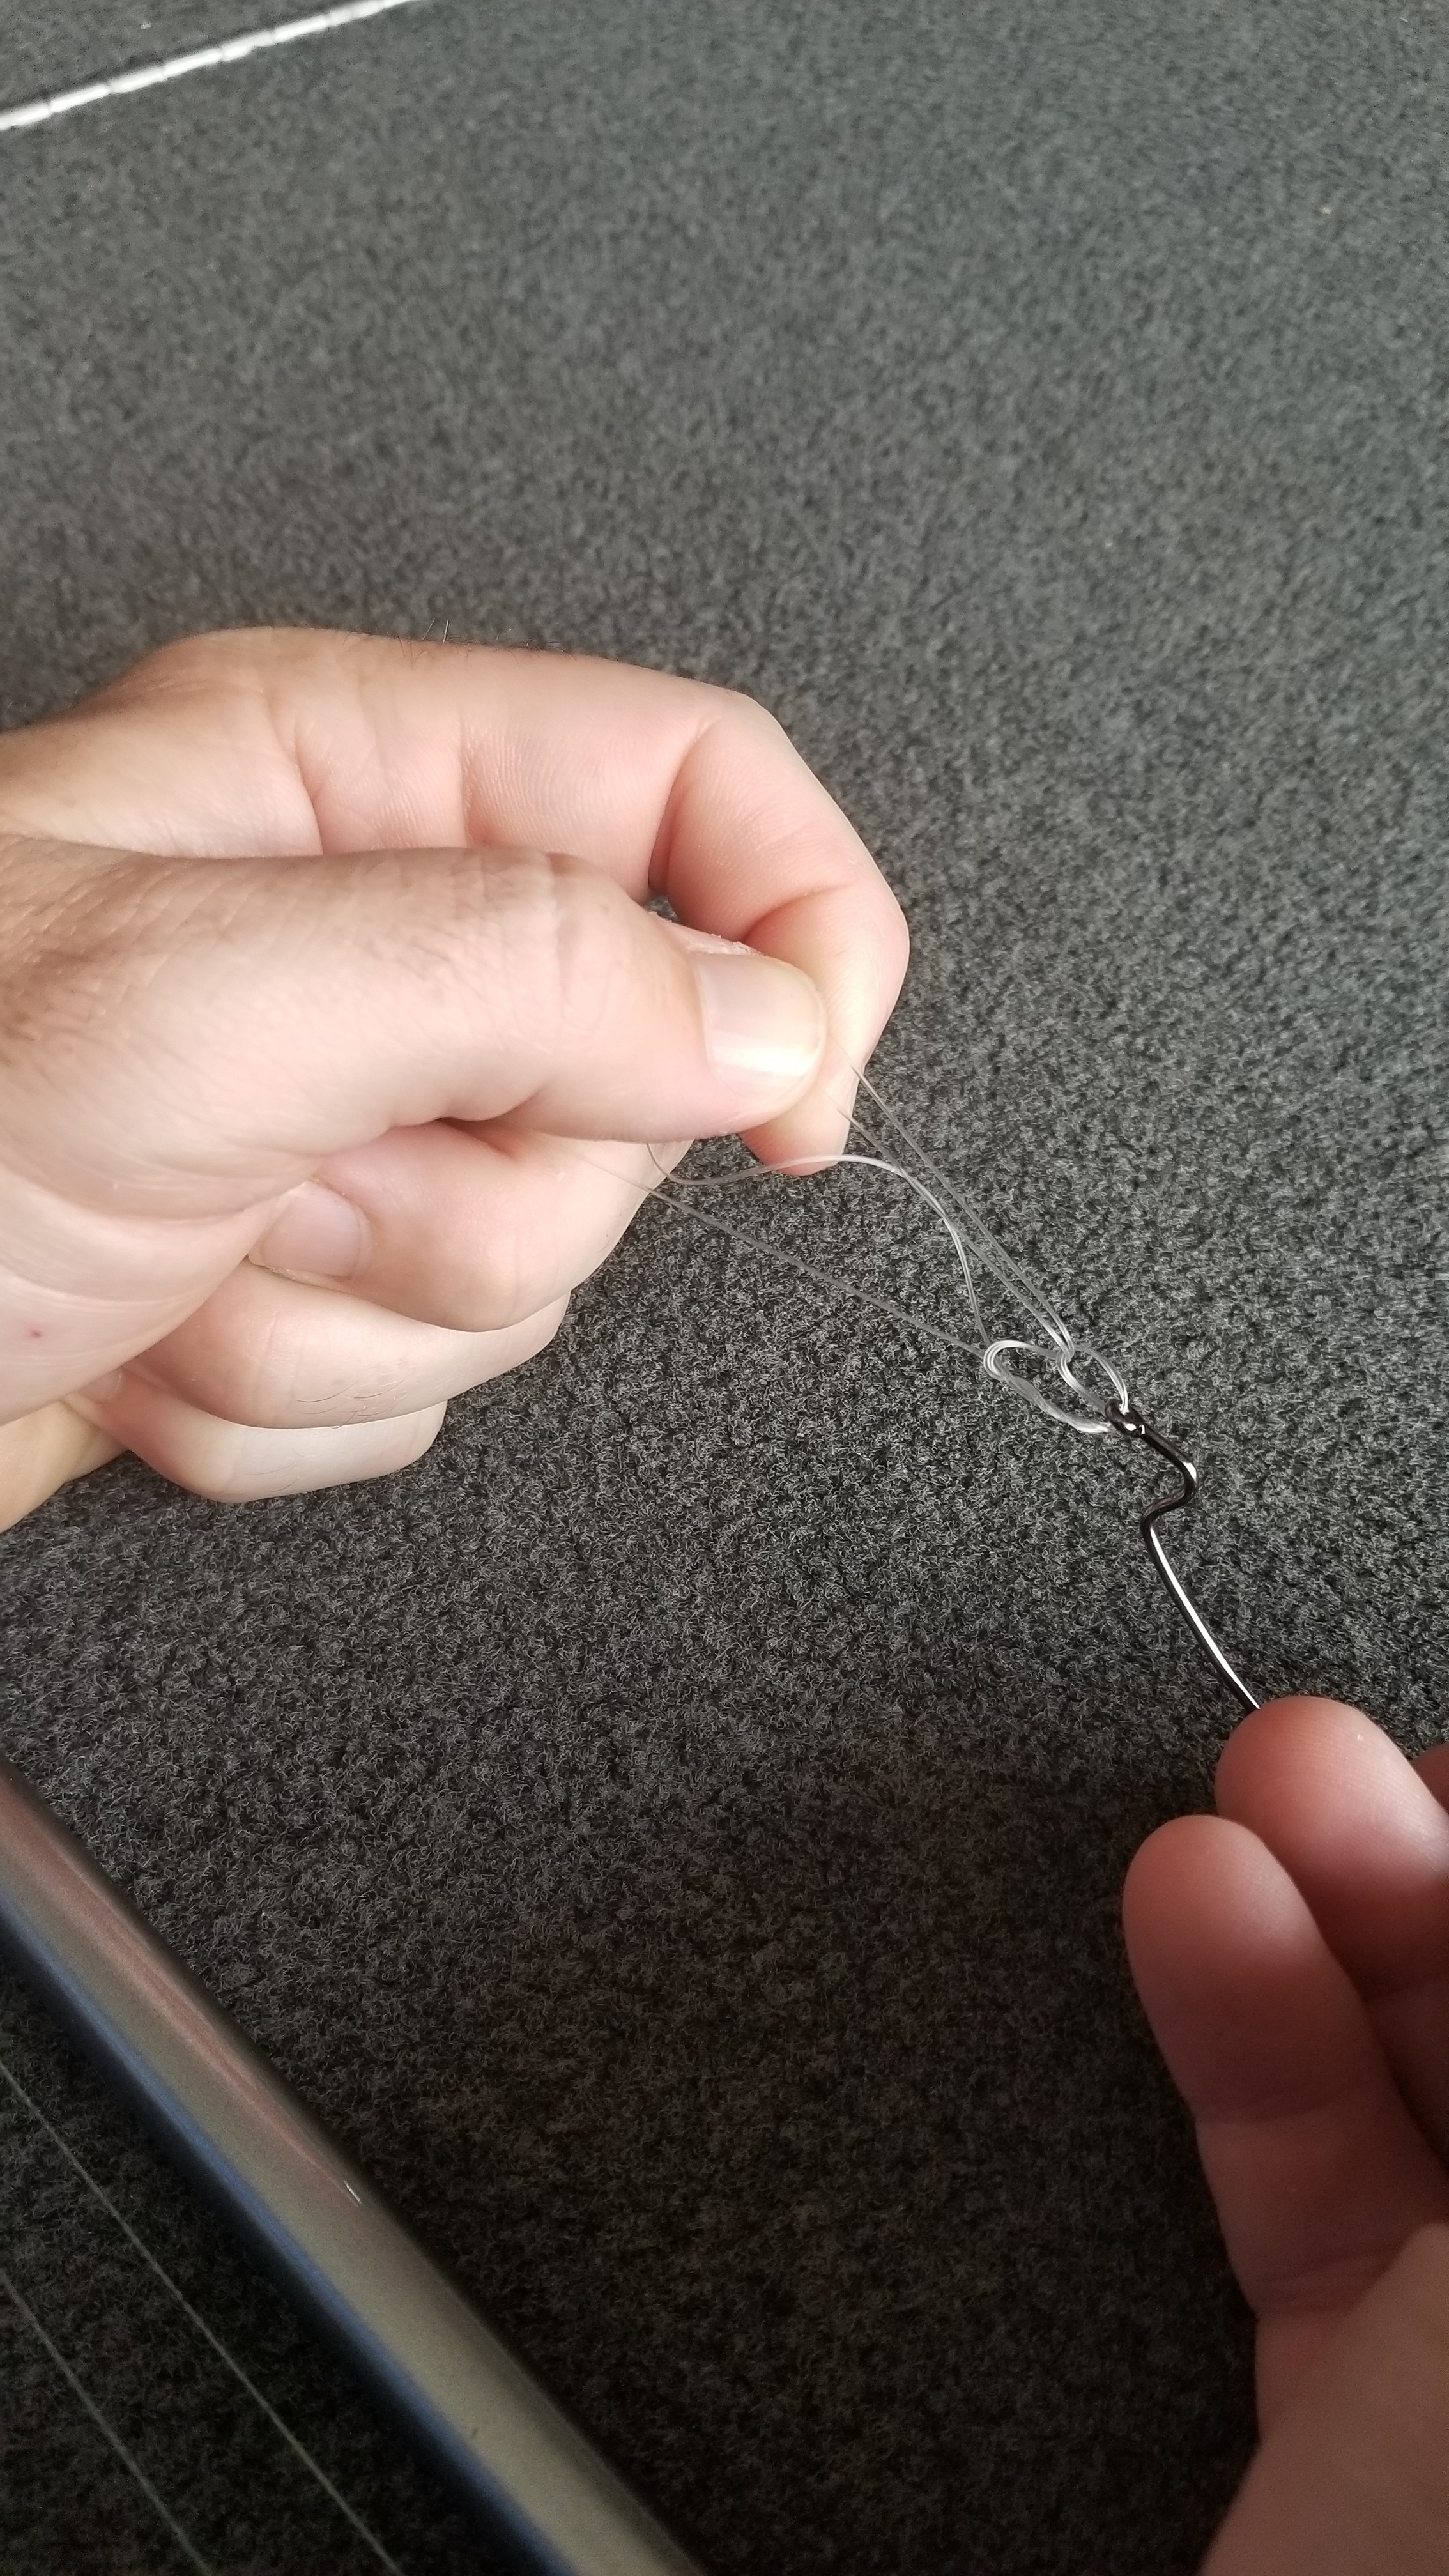
3. Hold the overhand knot between your thumb and forefinger, and then pass a loop of line over the hook.
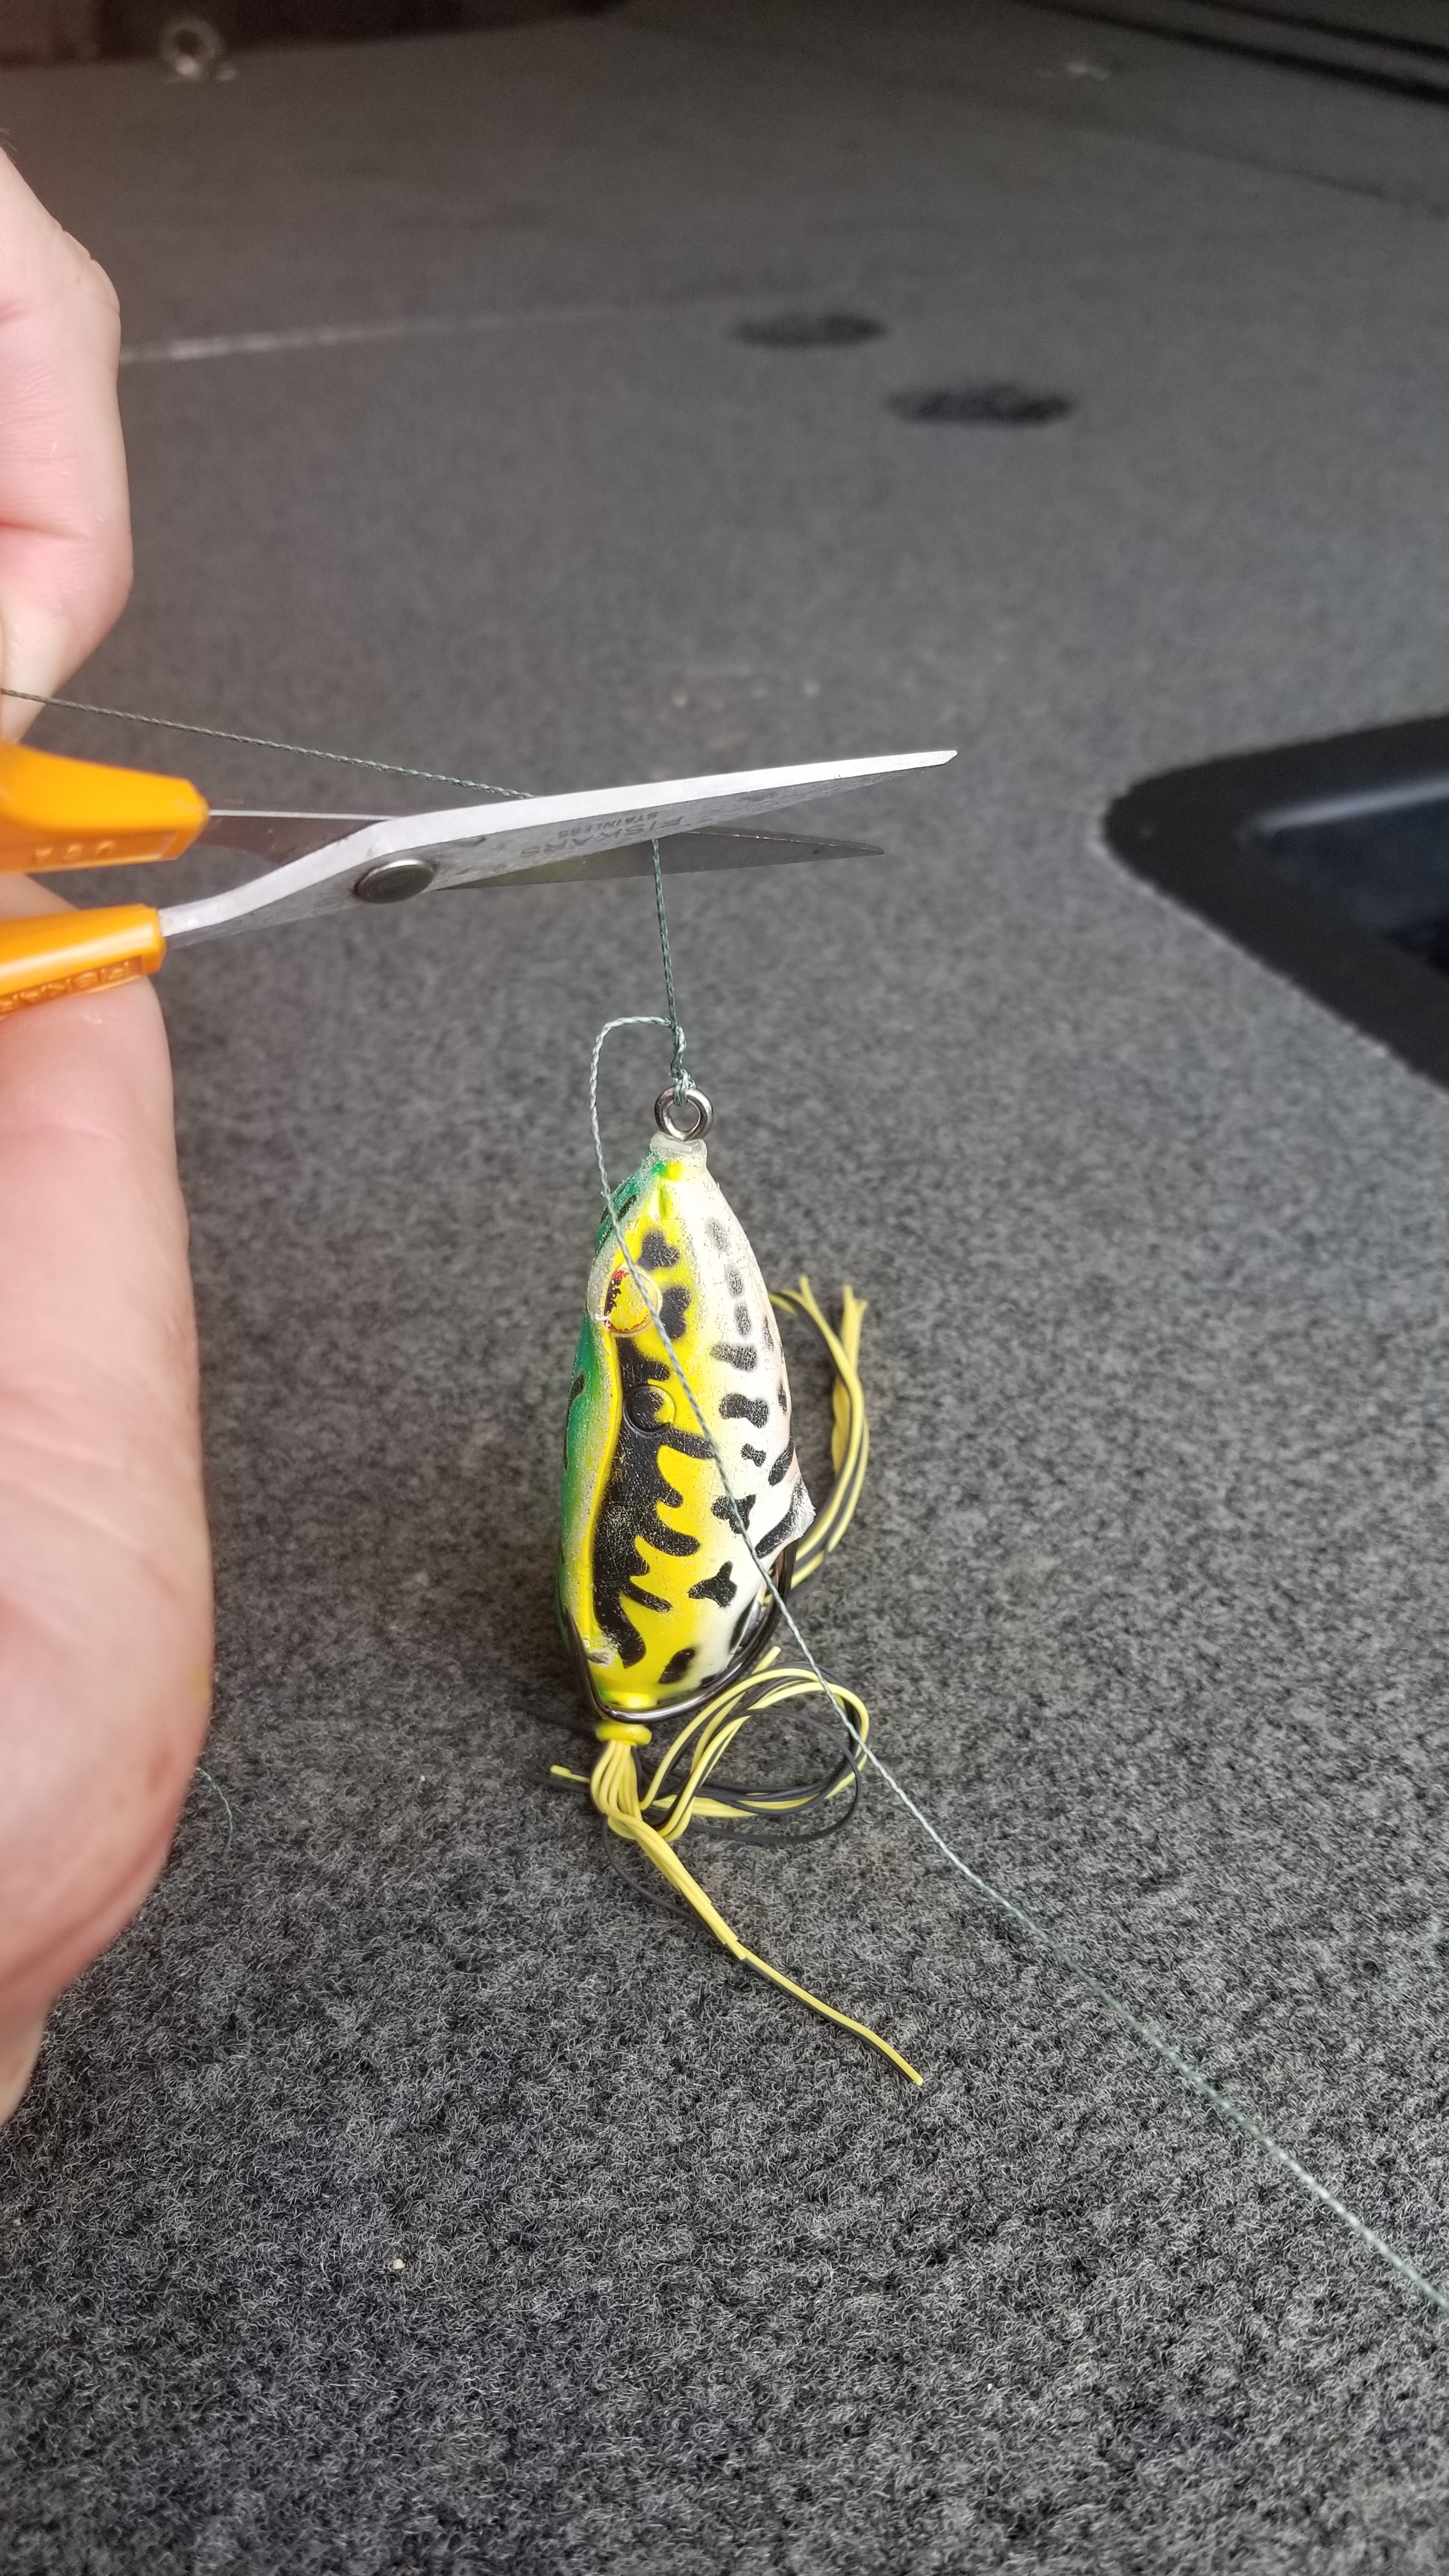
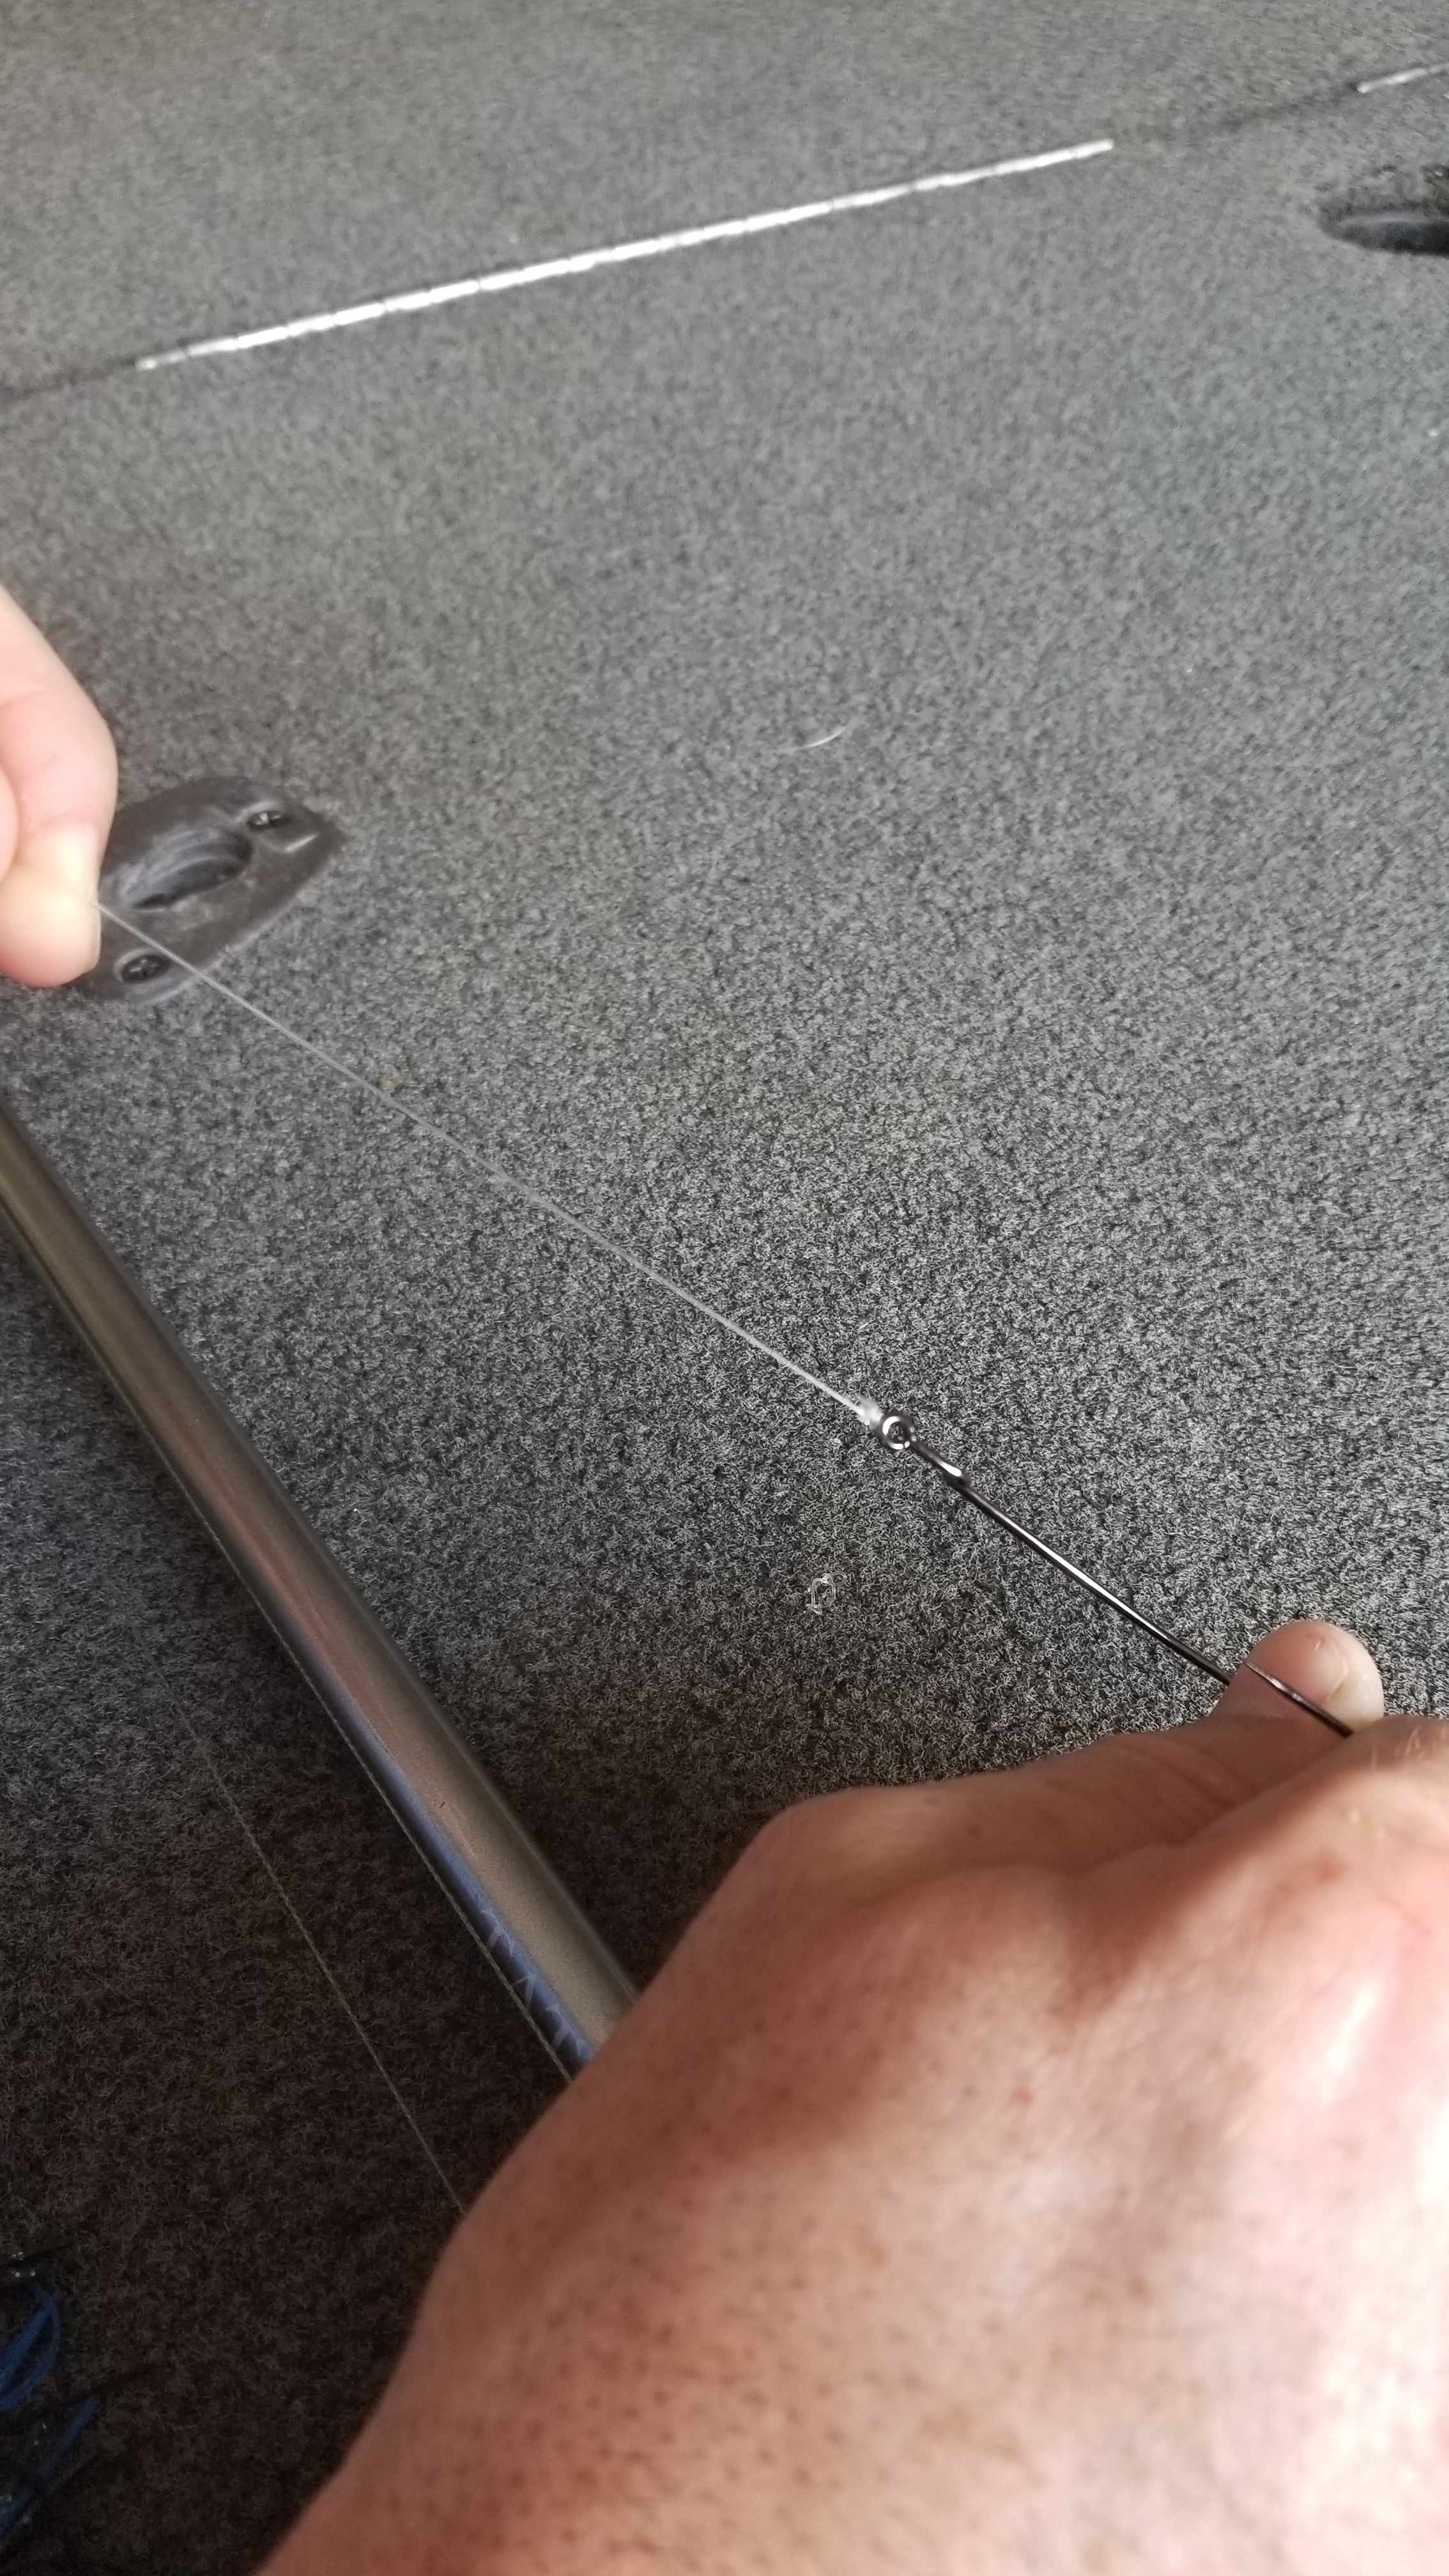
4. Pull on both the standing line and tag end to tighten the knot down onto the eye. Cut the other end and close.
Line-to-Hook: Improved Clinch Knot
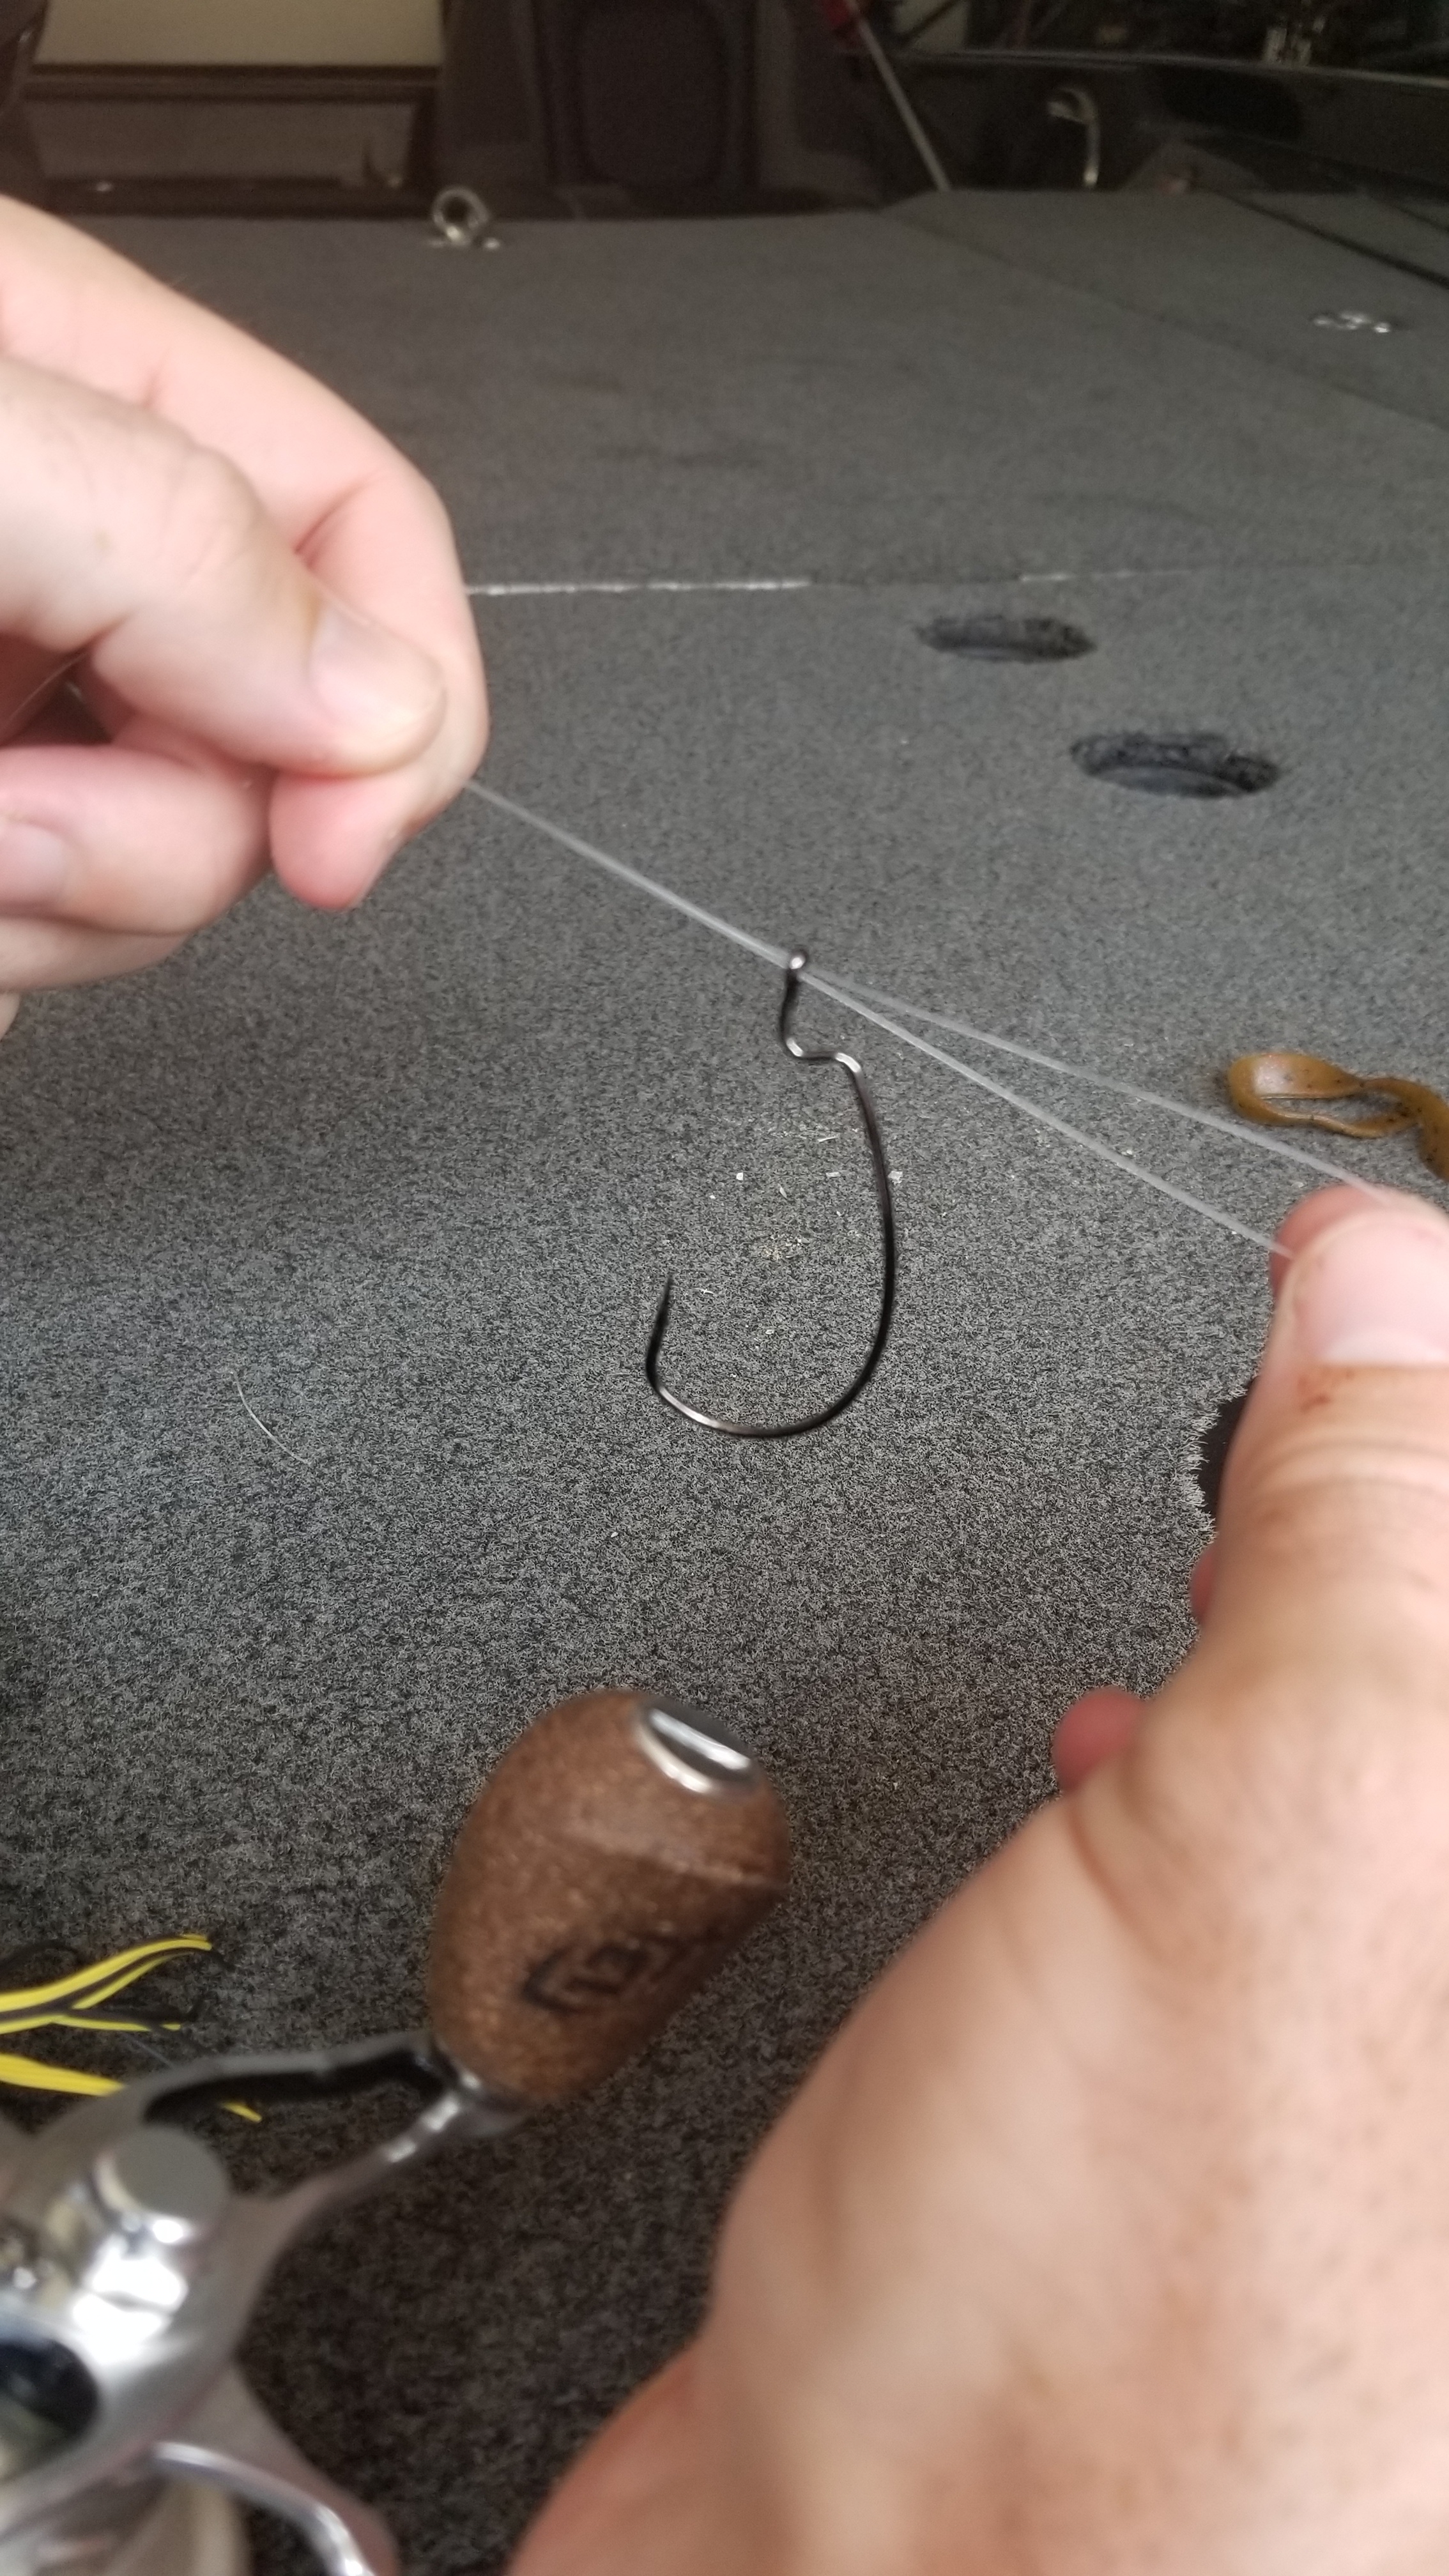
1. Thread the line through the swivel and double it back.
2. Twist the line 5 to 7 times and thread the end through the loop.
3. Pull the short end and main line to tighten the knot.
4. Trim off any excess line.